
Last updated September 24, 2026
Free in-home measure and quote - PGT, CGI and CWS impact lines compared on your actual openings, style by style
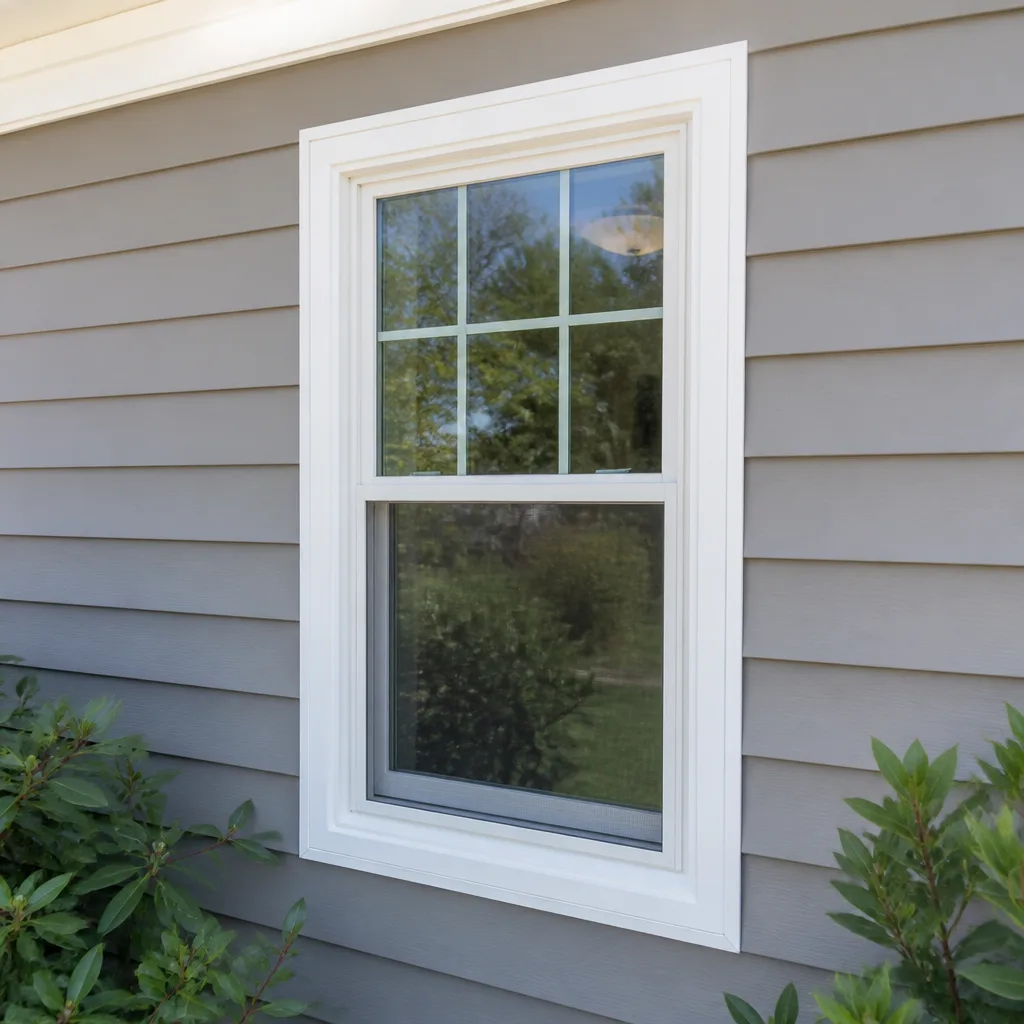

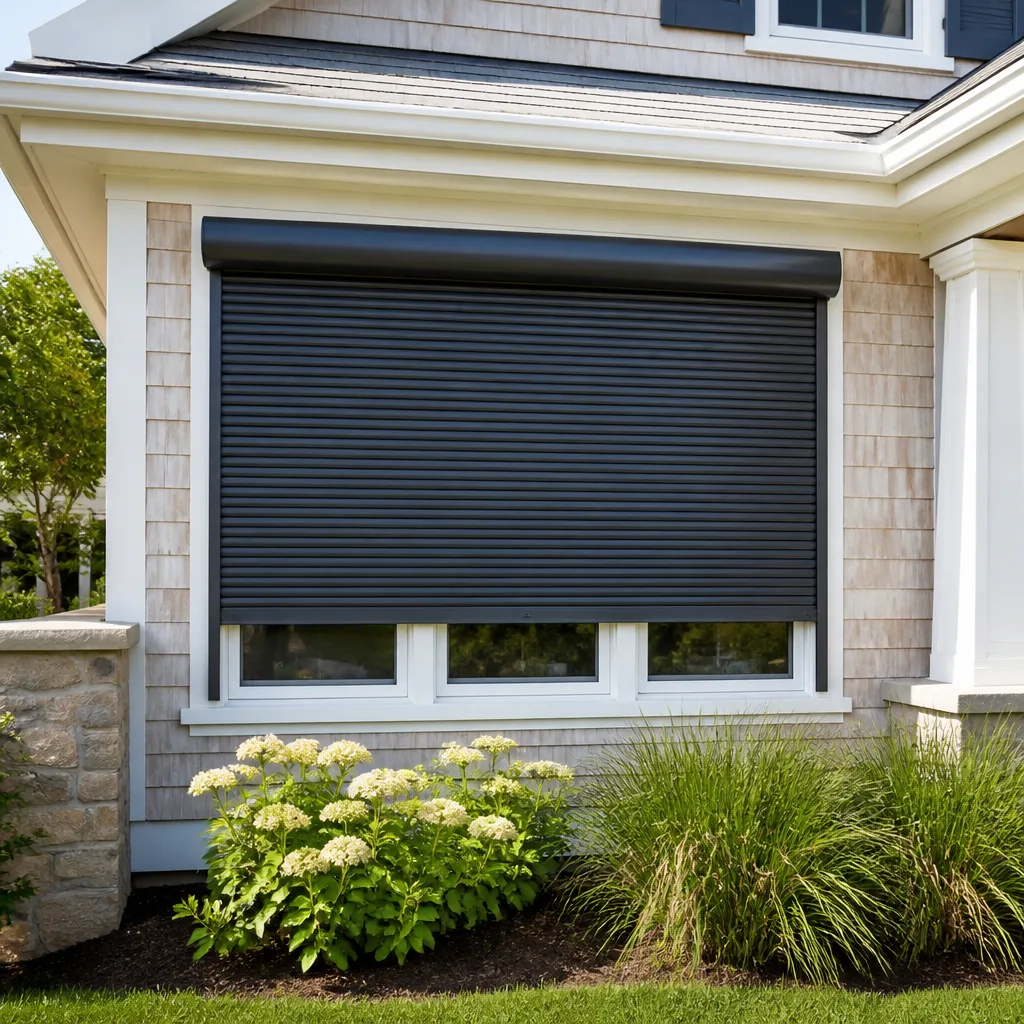







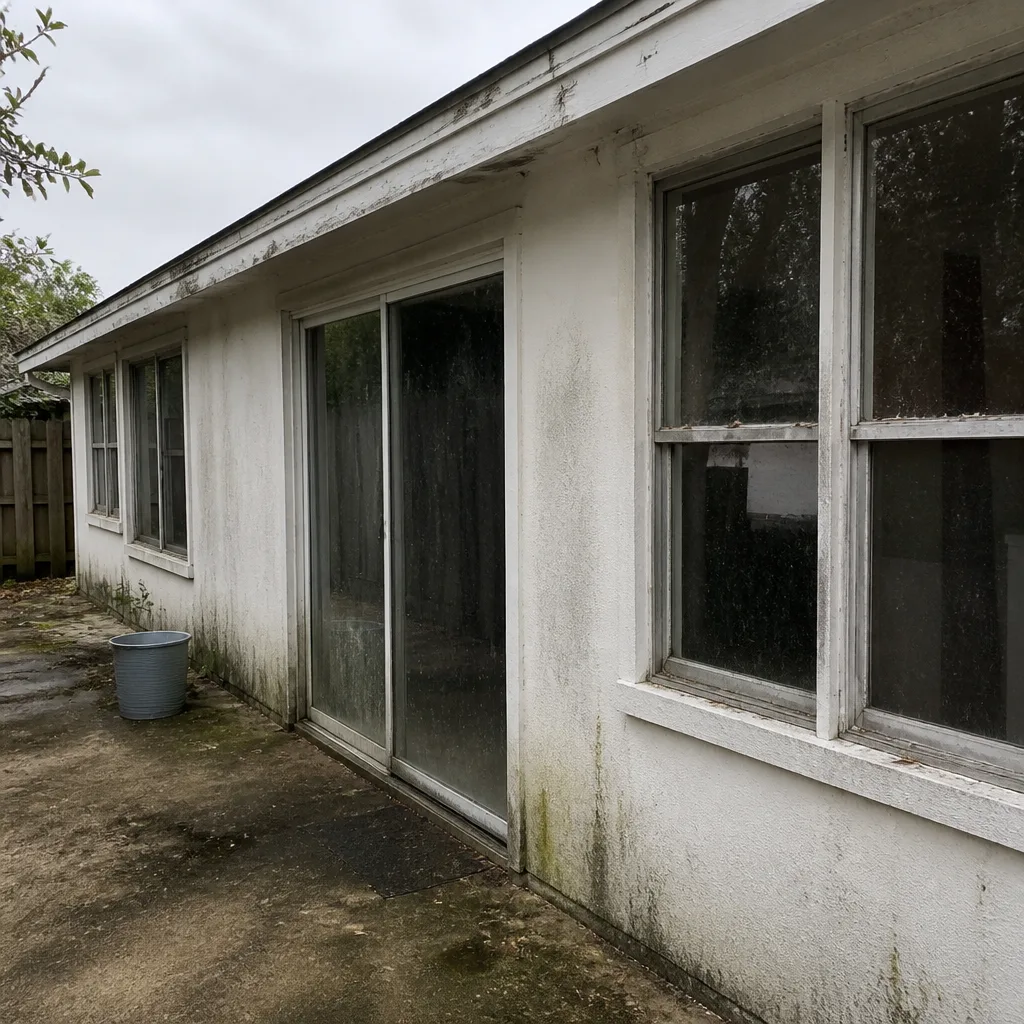 Before
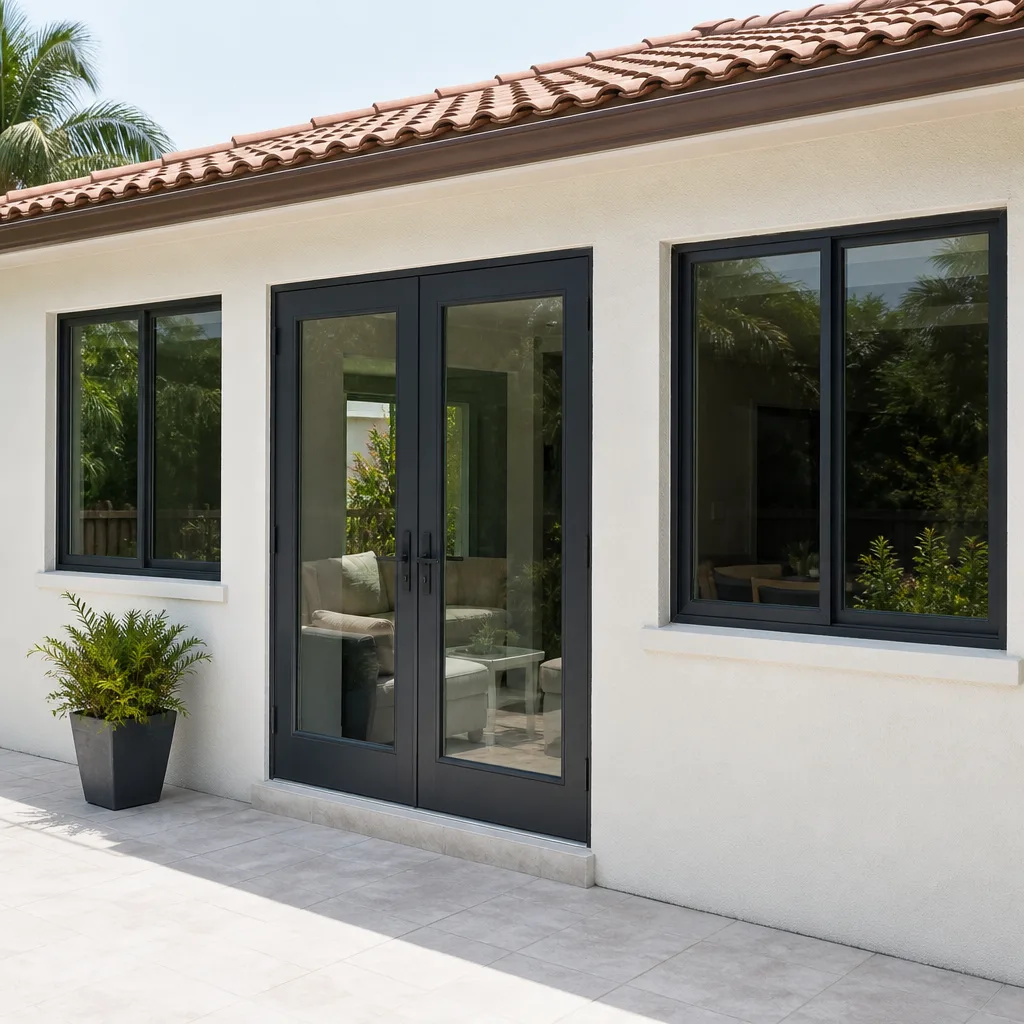 After
After Before
 After
After Before
 After
AfterWindow Installation Maintenance Checklist for Princeton Homeowners
Most post-installation checklists stop at “check for drafts.” They skip the two items insurers actually ask for during a claim: the product’s Miami-Dade NOA number and the county inspection approval stamp - both of which must be retrieved within 90 days of install before permit records are routinely archived. In Princeton, where summer humidity pushes 85% and afternoon thunderstorms test every seal, a window that passes a visual check can still fail the documentation test that determines whether your policy pays out. This guide draws a clear line between what your installer must document and what you, the homeowner, must verify independently - for a deeper look at pricing factors, see our Windows & Doors Cost Breakdown: The Princeton Homeowner’s Reference for 2026. You’ll leave with a dated, signed record that functions as a maintenance log and holds value for insurance claims, resale disclosures, and warranty enforcement.
Quick Answer
A complete window installation maintenance checklist for Princeton homeowners spans three phases: pre-installation verification of product specs and permits, day-of-install observation of rough opening dimensions and flashing coverage, and a 30-day post-install follow-up after caulk cure. Critical documentation includes the Miami-Dade NOA number, Miami-Dade County inspection approval stamp, and dated photos of sealant bead width - all retrievable within 90 days of install before routine archival.
Table of Contents
- Pre-Installation Verification: What to Confirm Before Glass Arrives
- Day-of-Install Observation: What to Watch, Photograph, and Sign
- 30-Day Post-Install Follow-Up: The Caulk Cure Inspection
- The Documentation File: What Insurers and Buyers Actually Want
- Princeton’s Humidity Cycle and Your 30-Day Window
- Dated Sign-Off Template: Your Maintenance Log
- Common Mistakes to Avoid
- When to Call a Professional
- Frequently Asked Questions
 Before
 After
AfterPre-Installation Verification: What to Confirm Before Glass Arrives
The checklist that matters starts before the truck pulls up. In our experience across 18,000+ openings since 2012, the disputes that cost homeowners the most time and money trace back to paperwork signed in haste on install day - not to the installation itself.
Product verification. Confirm the exact product line, model number, and performance ratings against your written quote. For impact-rated windows in Princeton, this means checking for the Miami-Dade Notice of Acceptance (NOA) number. The NOA is not a marketing label; it is the specific document that proves the product passed missile impact and cyclic pressure testing for this region. Write it down. Photograph the label on the window frame before installation, when it is still legible and unobstructed. Labels on installed units often fade, get painted over, or sit behind trim that homeowners hesitate to remove.
Permit status. Window replacement in Princeton falls under Miami-Dade County building code jurisdiction. Your contractor should pull the permit before work begins, not after. Request the permit number and verify it on the Miami-Dade County Permitting website. The permit application lists the scope of work, the approved products, and the scheduled inspections. If the permit is not active when the crew arrives, work should not proceed. Post-permit installations risk failed inspections, fines, and insurance complications.
Written scope alignment. Compare the measured survey you received at quote to the delivery manifest. Rough opening dimensions, product orientation (fixed vs. operable), and glazing specifications should match exactly. At Sightline Windows & Doors Princeton home, the measured survey and the final invoice are the same document under Haven Clause 1 - but not every contractor operates this way. If your quote was verbal or your survey was “for estimation purposes only,” you lack the documentation that supports a dispute.
Pre-install photo record. Photograph the existing windows from interior and exterior angles. Capture wall condition, surrounding trim, and any visible moisture staining. These establish the baseline that proves whether damage existed before or resulted from installation.
Day-of-Install Observation: What to Watch, Photograph, and Sign

The installation day is your only opportunity to observe what cannot be seen later. Once trim is replaced and caulk is applied, critical details become inaccessible without destructive removal.
Photograph these five measurements before the window is set:
- Rough opening dimensions. Measure width at top, middle, and bottom; height at left, center, and right. Record all six numbers. The opening should be 1/2 to 3/4 inch larger than the window frame on all sides to allow for shimming and insulation. An opening too tight stresses the frame; too loose compromises structural integrity.
- Flashing coverage. Photograph the sill pan, jamb flashing, and head flashing before the window covers them. Acceptable coverage: flashing extends minimum 6 inches up jambs, overlaps the sill pan with a back dam, and extends beyond the rough opening at the head. In Princeton’s driving rain environment, incomplete flashing is the leading cause of concealed water damage we document on second-opinion calls.
- Sealant bead width and continuity. After setting, the perimeter sealant should present a continuous bead, 3/16 to 1/4 inch wide, with no gaps or bubbles. Photograph before tooling (smoothing) and after. The tooled surface should show full contact with both frame and wall, no hollow channels beneath.
- Shim placement and fastener schedule. Shims should sit at the pre-punched fastening locations, not randomly wedged. Fasteners should penetrate the framing member, not just the sheathing. This is structural; it cannot be verified after trim installation.
- Insulation fill. Low-expansion foam or fiberglass batt should fill the gap between frame and rough opening without compressing the frame inward. Photograph before trim covers this space.
Operational test before sign-off. Open and close every operable sash. Locks should engage without forcing. Screens should remove and replace cleanly. Weep holes at the sill should be visible and unobstructed - these drain condensed moisture and driving rain that penetrates the primary seal.
Do not sign completion documents until: you have photographed the above, received the inspection schedule, and confirmed the crew’s identity against the license number you were provided. Haven Clause 3 (Verified Crews) means the person at your door is the person on the record. If the crew cannot produce identification matching your pre-install notification, stop work and call the office.
30-Day Post-Install Follow-Up: The Caulk Cure Inspection
Silicone and polyurethane sealants require 7 to 30 days to fully cure, depending on product chemistry, bead depth, and ambient conditions. In Princeton, the humidity cycle makes this window critical and specific.
Week 1: Initial cure check. The sealant surface should be tack-free and uniformly colored. Any sections that remain sticky, shrink dramatically, or develop cracks indicate improper application or incompatible substrate. Photograph anomalies immediately; they are easier to address before full cure locks in the defect.
Week 2-3: Shrinkage and adhesion test. Gently probe the sealant perimeter with a plastic spatula (not metal, which can score the frame). The sealant should adhere firmly to both surfaces. If it peels away cleanly from either the window frame or the wall, the bond has failed. This is common in Princeton when installers apply sealant over damp substrates during our wet season, or when incompatible primers were skipped on porous stucco.
Week 4: Full performance verification. Run the operational test again. Cured sealant should not restrict sash movement. Check weep hole function by pouring a small amount of water into the sill track; it should exit through the weep holes within 30 seconds. Standing water indicates blockage or improper sill pan slope.
Document the 30-day state. Re-photograph the same angles as install day. This paired record proves performance over time and supports warranty claims. Under Sightline’s 365-Day Done Right Promise, documented conditions at 30 days establish the baseline for any subsequent service - but the principle applies regardless of who performed your installation.
The Documentation File: What Insurers and Buyers Actually Want

A checklist without a file is a conversation without a record. Build a physical and digital folder containing these items, in this order:
- Permit and inspection records. The Miami-Dade County building permit, the inspection approval stamp (rough and final), and any correction notices with their resolution documentation. County records are archived after 90 days to microfilm; retrieval becomes costly and slow.
- Product certification. The Miami-Dade NOA for each product line installed, with the specific model numbers highlighted. For ES Windows or ECO Window Systems products, include the manufacturer’s installation instructions that correspond to your wall type. For Therma-Tru door systems, include the sill pan detail sheet.
- Written quote and final invoice. Under Haven Clause 1, these should be identical documents. If your contractor’s final invoice exceeded the quote, attach the change order with your signed approval - or document the dispute.
- Photo record. Pre-install baseline, install-day five measurements, 30-day follow-up, and any subsequent maintenance. Date every image file; do not rely on camera metadata alone, which corrupts easily.
- Warranty documents. Manufacturer’s product warranty, installer’s workmanship warranty, and any extended coverage. Note expiration dates in your calendar with 30-day reminders.
- Maintenance log. The dated sign-off template from the section below, updated annually.
This file travels with the property. In Princeton’s active resale market, buyers and their inspectors request documentation of impact-rated installations for insurance continuity. Gaps in the file delay closings or trigger re-inspections at seller expense.
Princeton’s Humidity Cycle and Your 30-Day Window
Princeton sits in Miami-Dade’s southeastern corridor, where the Atlantic moisture stream and Biscayne Bay proximity create distinct seasonal patterns that affect window performance and maintenance timing.
June through October: Wet season considerations. Ambient humidity regularly exceeds 80%, and afternoon convection storms deliver wind-driven rain. Sealant cure times extend toward the 30-day maximum. We recommend scheduling installations for morning starts when possible, allowing the day’s heat to accelerate surface cure before evening dew resets the clock. If your install occurs during this window, extend your follow-up inspection to 35 days and document humidity conditions.
November through May: Dry season advantages. Humidity drops to 60-70%, and sealant cure consolidates in 14-21 days. This is the optimal window for detecting adhesion failures before they become concealed by subsequent wet-season expansion and contraction. If your install occurred in wet season, perform a supplemental inspection in January when materials have cycled through contraction.
Saline air exposure. Princeton’s proximity to coastal environments accelerates hardware corrosion on non-impact-rated products and degrades anodized finishes over time. Annual maintenance should include hardware lubrication with silicone-based products, not petroleum greases that attract particulate. We see the most hardware warranty claims from Princeton and Homestead properties where this was neglected.
Thermal cycling stress. Daily temperature swings of 15-20°F between afternoon peak and evening low stress sealant bonds and frame gaskets. This is normal and expected; premature failure is not. Your maintenance log should note any sealant cracking before year five as an anomaly warranting professional review.
Dated Sign-Off Template: Your Maintenance Log
Transform your checklist from a one-time event into a living record. Print this template, complete it at each phase, and file with your documentation.
WINDOW INSTALLATION MAINTENANCE LOG
Property Address: _________________________ Princeton, FL 33032
Installation Date: _________________________
Contractor: _________________________ License #: _________________________
Product Line: _________________________ Model #: _________________________
Miami-Dade NOA: _________________________
Permit #: _________________________ Final Inspection Date: _________________________
PHASE 1 - PRE-INSTALLATION VERIFICATION
Date completed: _______
☐ Product label photographed and NOA verified
☐ Permit active on county website
☐ Written scope matches delivery manifest
☐ Pre-install baseline photos captured
Signed: _________________________
PHASE 2 - DAY-OF-INSTALL OBSERVATION
Date completed: _______
☐ Rough opening dimensions recorded (6 measurements)
☐ Flashing coverage photographed
☐ Sealant bead width documented (3/16-1/4 in., continuous)
☐ Shim and fastener placement verified
☐ Insulation fill photographed
☐ Operational test completed (all sashes, locks, screens, weep holes)
☐ Crew identification verified against provided license number
Signed: _________________________
PHASE 3 - 30-DAY POST-INSTALL FOLLOW-UP
Date completed: _______
☐ Sealant cure verified (tack-free, uniform, adherent)
☐ No shrinkage, cracking, or adhesion failure
☐ Sash operation unrestricted by cured sealant
☐ Weep holes functional (water test passed)
☐ Follow-up photos captured and filed
Signed: _________________________
ANNUAL MAINTENANCE ENTRY
Date: _______ Condition noted: _________________________
Action taken: _________________________
Signed: _________________________
This log format is what we provide to every window installation in Princeton client, adapted from the documented photo record that accompanies every Sightline job. The principle is portable: evidence that accumulates over time outperforms memory in every dispute.
Common Mistakes to Avoid
- Accepting verbal confirmation of permit status. In Miami-Dade County, permits are public record and verifiable in minutes. A contractor who resists providing the permit number before work begins is not saving you paperwork; they are avoiding accountability. We have reviewed competitor estimates where the “permit included” line item never materialized in county records.
- Photographing only finished work. The install-day images of concealed components - flashing, shims, insulation - are the photographs insurers request when water damage claims arise. Without them, you cannot prove installation quality; you can only assert it.
- Ignoring the NOA number until claim time. Insurers deny claims for “unapproved products” when the NOA cannot be produced. The label fades. The installer relocates. The manufacturer discontinues the line. Retrieve and file the NOA within 30 days of install.
- Testing weep holes with compressed air. Homeowners sometimes blow debris into weep channels with air compressors, forcing obstructions deeper into the sill pan. Use water flow testing only; it verifies function without mechanical damage.
- Applying paint over uncured sealant. In Princeton’s humidity, painters eager to complete projects apply trim paint before sealant full cure. The paint skin traps solvent vapor, causing blistering and adhesion failure. Wait 30 days, or confirm sealant cure with the installer.
- Discarding documentation at “project completion.” Windows are 20-30 year investments. The buyer who requests your maintenance log in 2035 will discount your property or demand re-inspection if records are absent. File everything.
- Assuming all crews from the same company are equivalent. License numbers identify individuals, not companies. The technician who performed your neighbor’s competent install may not be the technician at your door. Verify each time.
When to Call a Professional

Some conditions exceed homeowner maintenance and indicate installation defect or product failure. Contact a licensed window contractor when: sealant fails adhesion testing at 30 days; condensation appears between double-pane glass (seal failure); frames show warping or cracking within the warranty period; operation becomes stiff or noisy after initial break-in; or water intrusion occurs at any point, regardless of apparent source. Document each condition with dated photographs before calling; this accelerates diagnosis and protects your position in any dispute. Sightline Windows & Doors Princeton offers free estimates in Princeton - call (786) 977-2953. We also provide free second opinions on any written estimate from another contractor, with no obligation to proceed.
Frequently Asked Questions
Window installation in Princeton typically ranges from $650 to $1,400 per opening for standard vinyl or aluminum impact-rated units, with premium custom or geometric configurations extending to $2,800 or more depending on size and glazing complexity. These figures reflect Miami-Dade County code requirements for impact resistance and professional permit handling. Call (786) 977-2953 for an exact quote - estimates are free, and the written price we provide before any work starts is the price on the final invoice.
Yes. Princeton falls under Miami-Dade County building code jurisdiction, and window replacement requires a permit for every opening. The permit triggers rough and final inspections that verify structural, impact, and energy code compliance. Your contractor should pull the permit before work begins; if they suggest “working around” this requirement, they are exposing you to fines, failed insurance claims, and resale complications.
A Notice of Acceptance (NOA) is the specific document certifying that a window or door product passed missile impact and cyclic pressure testing for high-velocity hurricane zones. Insurers require it to confirm your installation meets policy terms for windstorm coverage. Without the NOA on file, claims for hurricane damage may be denied regardless of apparent installation quality.
In Princeton’s humidity, silicone and polyurethane sealants require 21 to 30 days for full cure. Painting over uncured sealant traps solvent vapor and causes failure. Cleaning with pressure washers or ammonia-based products before cure degrades adhesion. Wait 30 days, then use mild soap and water with soft cloth only.
Under Sightline’s Haven Standard, the written price before any work starts and the final invoice are the same document - Haven Clause 1. If concealed damage is discovered during installation (rotted framing, for example), work stops, the condition is photographed, and a written change order requires your signature before proceeding. No surprises means no invoice you did not approve in writing.
Request the license number before scheduling, then verify it through the Miami-Dade County Contractor Verification portal or the Florida Department of Business and Professional Regulation website. Confirm the license status is active, the classification covers window and door installation, and there are no pending complaints. At arrival, ask for photo identification matching the license number you verified - Haven Clause 3 requires this match.
The Bottom Line

A window installation maintenance checklist serves two masters: the immediate performance of your windows and the long-term value of your property documentation. In Princeton’s climate, the 30-day caulk cure inspection catches failures that visual checks miss. The Miami-Dade NOA and inspection stamp, retrieved within 90 days, protect your insurance position. The dated, signed log transforms scattered observations into admissible evidence. Do the work once, file it carefully, and update annually. The homeowner who can produce this record commands credibility in every future transaction.
Written by Sonia Raman, Owner at Sightline Windows & Doors Princeton, serving Princeton since 2012.